
Incubating Eggs
When I started my egg incubating journey many years ago, I started with a free incubator just like many of you. A friend shared it with me as she had moved on to other things. I was so excited and candled all the time and watched them grow! It is so neat to see them move in the shell and change daily. I did learn alot during that time and I will share some of that wisdom here.
First, candling is fun and a teachable moment for the kiddos but it is hard on the embryo trying to develop. All the flopping around and bright lights must feel like a train wreck inside their home. I would encourage you to refrain from candling eggs until the day you are moving to the hatching basket. At this point, removing any undeveloped eggs will create more space for the hatching chicks.
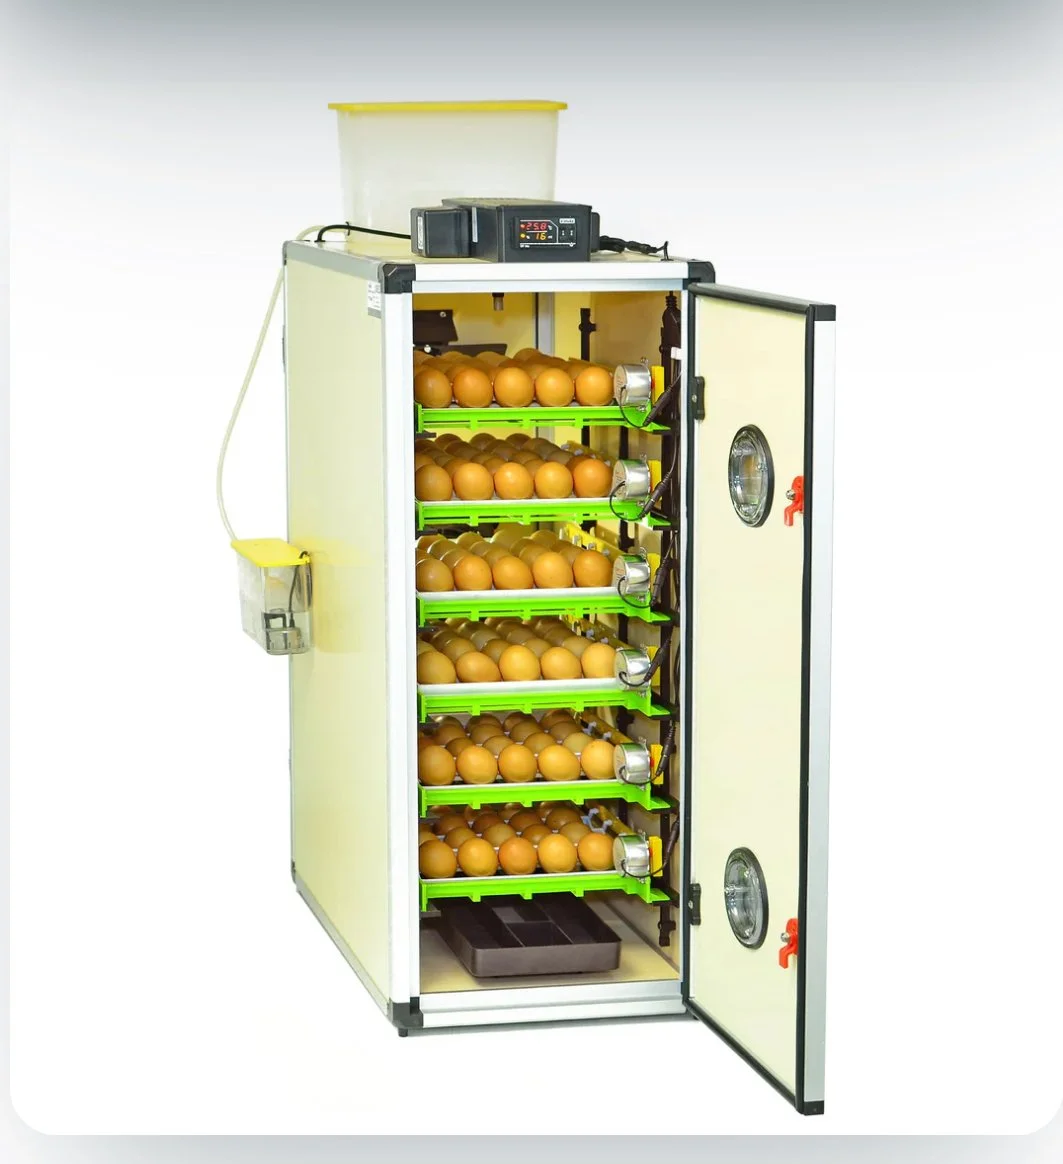
Second, the quality of the incubator plays a huge role in the quality of the hatch. Consistent temperature and humidity is the kindest environment you can create for budding life. Cold spots, temp spikes, inconsistent humidity can all create hatching issues, deformities, timing issues and even death. Therefore, before you spend hundreds of dollars on eggs, be aware of your incubator and issues it may have to give the eggs a great chance at life. I recommend the Hatching Time incubators. They hold the most consistent temperature and humidity to get you the best hatch rates. If you are in the market for a new incubator, then check out the Hatching Time CT series and use BRYANTSROOST at checkout for more savings!
Know your timing, quail take 17-18 days and chickens take 21 days. Ducks and turkeys take 28 or more days! You need to know this to plan for brooder space, when to save eggs for next hatch and when to remove from the turner. Turning eggs is important. Just like you rolling over in bed while asleep, it gives relief to pressure points. Turning eggs moves the fluid and chick around to prevent pressure points and the membrane from sticking. Once the chick is big enough to do it on its own, it’s not as important if you are doing it by hand, but the first week or 10 days, it is crucial. Once it is time to take out the turner, place the eggs on a non slip surface like this liner. Creating traction for the chicks prevents slipping from the newly hatched birds who are clumsy anyway. I believe it can prevent issues like splay leg and is such as easy thing to give them!
After hatching, the birds are living off the yolk nutrients, so feed the breeders well! You want to leave them in the hatcher until all dry and fluffy and coordinated. This could be 48-72 hours. You don’t want to open the incubator if some are pipping and shock change the humidity or temp. Leave them be! You want the healthiest and strongest chicks to survive anyway. After all this, now you can open it up and get them into your prepared warm brooder! Enjoy!